
CirrusSense Router Quick Start Guide
Download the guide now or follow the instructions below.
Connect Your Router
- If you’re connecting to the internet via a wired connection, connect an Ethernet cable to the Ethernet port on the back of the CirrusSense Router.
- If you’re connecting wirelessly, connect the Power Adapter into the CirrusSense Router, then plug the adapter into a power outlet.
- Wait approximately 1 minute for the CirrusSense Router to come online. After 1 minute, you can proceed to the next steps.
Configure Your Router for Internet Access
- If you are using a wired Ethernet connection, and your local network supports DHCP, then your router is configured and no additional setup is needed. If you are using a wireless network for internet access, proceed to step 2.
- Download the Transducers Direct TDWLB app:
- Launch the Transducers Direct TDWLB app

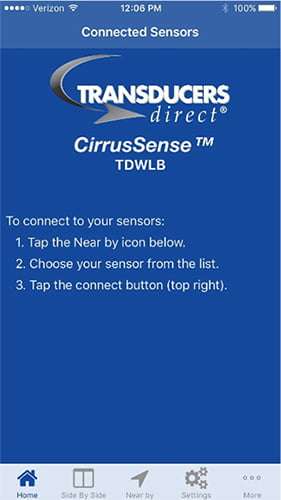
- Locate the “Routers” icon in the tab bar at the bottom of the app screen. If you are on an iPhone, you will need to touch the “More” icon to display the “Routers” icon. Touch the “Routers” icon to begin the setup process.
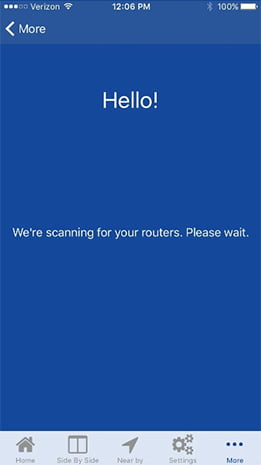
- The Transducers Direct TDWLB app will search for your router and connect automatically once it’s found. To ensure a successful connection, be within 10 feet of your router.
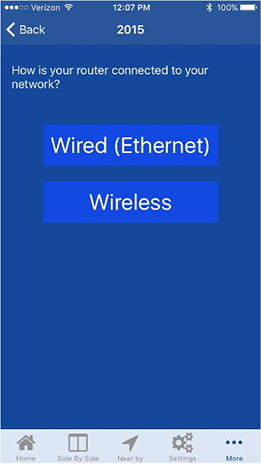
- Choose the type of internet connection you wish to use.
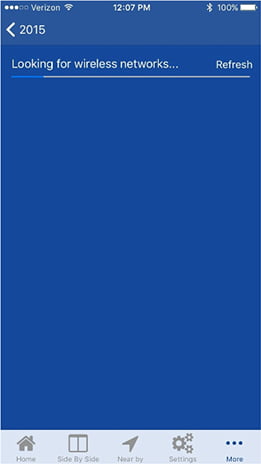
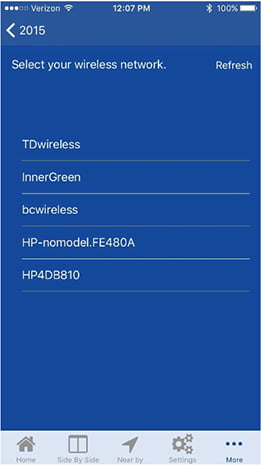
- If you chose “Wireless,” the router will scan for nearby wireless networks. Scanning takes approximately 10 seconds.
- Chose your wireless network from the list.
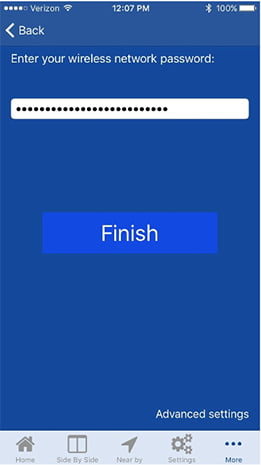
- Enter your wireless network password.
- If you chose “Wired” and you do not need to set any advanced settings, click the Finish button to complete setup. To modify advanced settings, proceed to the steps below.

Advanced Settings
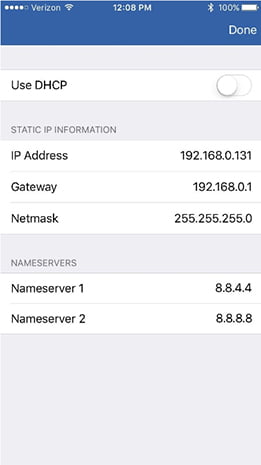
If you do not have a DHCP server on your network, or if you would like to specify a static IP address, or static nameservers, follow the steps below.
- Touch “Advanced Settings” after entering your wireless network password or after choosing a wired network connection.
- To set a static IP address, disable the “Use DHCP” option. Once disabled, you will be able to provide a static IP, netmask and gateway for your router. You can also specify custom name servers. When your custom network configuration is complete, press the Done button.
Saving Your Router Configuration
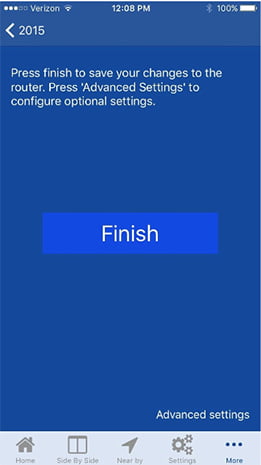
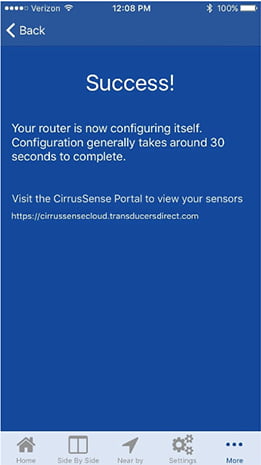
- Press the Finish button.
- Your router will now reboot and available in approximately 30 seconds.
Online CirrusSense Cloud Portal Account Setup
- On an internet connected browser, go to https://cirrussensecloud.transducersdirect.com/Account/Register
- Create a new CirrusSense account.
- When creating an account, be sure to input your Subscription Code that has been printed on your invoice and packing slip.
Accessing Your Router and Sensor Data
- Once your account has been created, you will be taken to the Routers page. Click the Add button to add your router to your account.
- Enter the serial number printed on the label of your router and click Save.
- Your router will now be displayed on the screen.
- Click Details to view the live sensor data for your router.